Originally posted in r/LampRestoration in ~2018

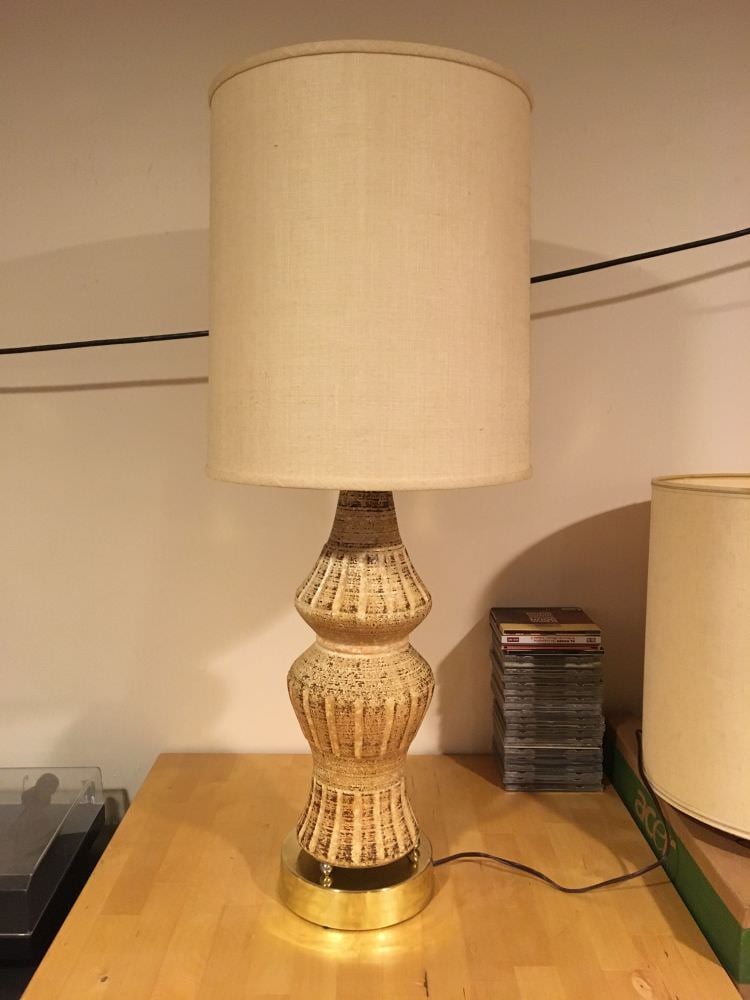
I found the lamp more or less in this condition a while back. $9.99 on 50% off day at Goodwill, so it cost me $5 (wooo!). The ceramic body of the lamp is in fine shape, which is great because that’s the hardest piece to work on. The rest of it is a mess though. I’m glad Goodwill didn’t just toss it in the trash considering how sad it looked on the shelf there. Mine now.

Close up of the sticker on the base. “Genuine Lesie China,” at least I assume that’s what it says. I’ve seen a couple other references to Mid Century Leslie China lamps, but I’ve never heard of the manufacturer before this. You can also see how bad the corrosion is on the base.

Close up of the neck. It seems to have come unscrewed, and that’s why it was hanging like the first picture shows. There are only a few threads showing, too.

Inside the cup part, where the socket is.

I pulled the bottom apart a bit, that wire is all sorts of shot. Hopefully no one was actually using the lamp with the wire in this condition.

Twisted wire at the other end, all the way to the socket. It’s a bit hard to see in the picture, but the shielding is pretty frayed.

Body removed and quickly reassembled just to use as a reference for how it goes together.

Reference shot of the bottom bits.

Reference shot of the top bits.

Everything laid out. Time for polishing. Unfortunately each and every piece failed the magnet test, so I’m going to have to be really careful and light-handed with the polishing, so I don’t burn through the plated brass layer.

After polishing. Came out ok. The photos don’t really show it, but the bottom piece still has a fair amount of scratch marks from the polishing, but once the old lacquer and tarnish and crud was off I called it done. I’d rather have scratches that you can see if you look closely than spots of completely missing brass. I also didn’t bother trying to smooth out the dents in the base. They’re from where the three balls sit on it, so they’re going to be pretty well covered once it’s reassembled, and it would just make new dents anyway.

Spray lacquer. Don’t mind the bits in the top right corner, those are from another project, I just lacquered them at the same time.

When I went to reassemble everything I wasn’t even able to thread it all back together because the main pipe was just barely long enough. I have bits of pipe nipple and couplers laying around, so I added about 1/2 inch of length. This made everything much easier. I’m sure the fact that the pipe was just barely long enough is what made it fall apart in the first place.

Everything reassembled except the electrical bits.

New wire, pulled through to the top. I also added a small grommet. It probably originally had one, but it had long since hardened and crumbled to dust. This’ll prevent the cord from getting frayed by the hole in the base.

Socket attached, underwriter’s knot knotted.

Reassembled the shell of the socket. Normally I consider this type of socket one-time-use. You often have to tear apart to remove it, so I usually replace them. In this case the bottom and top halves seemed to have separated themselves when I was disassembling, and they were in perfectly good shape. They snapped right together and held, so I decided it’s good enough to reuse. The contacts inside looked fine.

Pulled the wire tight and screwed the socket into place, and lined up the switch with the opening. Because of the camera flash you can really tell what a crappy job I did polishing because I was scared to burn through the brass.

Screwed the key back into place.

Pulled the slack out of the new wire and squeezed the grommet in place.

The adhesive on the sticker was all gooey, so I was able to pull it off pretty easily. I cleaned the residue off of it carefully with acetone, and then used clear silicone to glue it back on. The flash in this photo makes it look more worn than it is, it’s still reasonably easily legible.

Three sticky felt dots on the base.

Pop the harp back into place. I’ve never seen this style harp before, it sort of pops into the cup bit. If you know anything about it or have seen them on other lamps Iet me know. I didn’t really spend time polishing the harp because it’ll basically be completely hidden, and I’m lazy.

Done! Stuck a shade on for photos.
You must log in or register to comment.